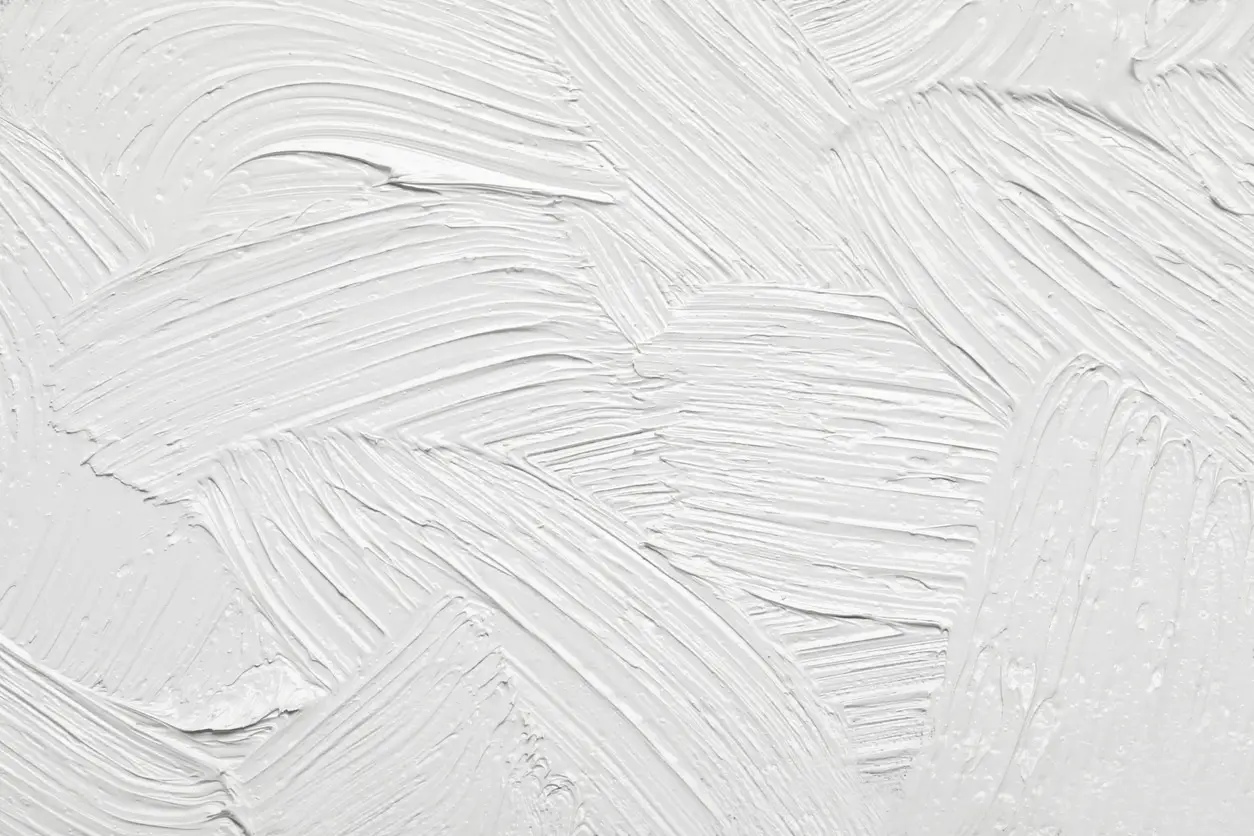
Once a staple of interior design in the latter part of the 20th century, textured walls were gradually replaced by the sleek, clean lines of modernism. However, the wheel of fashion turns endlessly, and what was once considered passé is making a resounding comeback. Textured walls are re-emerging as an essential aspect of contemporary interior design, appealing to homeowners and designers who yearn for more tactile, expressive surfaces in their living spaces. In this article, we shall delve into the factors contributing to this revival, types of wall textures, the benefits and drawbacks of choosing textured walls, and finally, a step-by-step guide on how to apply texture to your walls.
The Revival Factors
Nostalgic Appeal
As Millennials and Generation Z become homeowners, they are increasingly looking towards the past for design inspiration, perhaps seeking a link to a seemingly simpler time. Textured walls, often present in the homes of their grandparents or childhood, offer a comforting slice of nostalgia.
Artistic Expression
Textured walls offer an unprecedented level of artistic liberty, enabling homeowners to imbue their spaces with personality and complexity. From subtle stippling to bold geometric patterns, textures provide an additional dimension that flat paint simply cannot.
Acoustic Benefits
Textured walls can also offer acoustic advantages, reducing echoes and absorbing sound better than their flat counterparts. This quality makes them particularly appealing for use in home theatres, studios, or any space where sound insulation is desired.
Types of Wall Textures
Knockdown
A versatile and subtle texture, knockdown involves applying a layer of joint compound or plaster and then “knocking down” the peaks with a trowel, resulting in a gentle surface texture resembling stucco.
Popcorn
Also known as “acoustic” or “cottage cheese” texture, popcorn walls have a bumpy, almost cloud-like appearance. Although they have fallen out of favour due to their dated look and the difficulty of upkeep, some still appreciate them for their retro appeal and sound-dampening capabilities.
Stippling
Stippling involves applying a layer of thick paint or plaster and then using a stippling brush to create a random, dotted pattern. The result is a soft texture that can add warmth and depth to a room.
Combing
This technique requires the use of a combing tool to create a series of grooves in wet paint or plaster. The result is a geometric, repetitive pattern that brings a modern edge to the traditional concept of wall texturing.
Sponging
One of the simpler DIY methods, sponging involves dipping a natural sea sponge into glaze or a contrasting paint colour and dabbing it onto a base coat. This creates a soft, mottled effect.
Pros and Cons
Advantages
- Visual Interest: Textured walls add an additional layer of complexity and visual interest to a room.
- Mask Imperfections: Textures can effectively conceal minor imperfections like dents and uneven patches.
- Enhanced Durability: The additional layers of material make textured walls more resistant to minor scuffs and knocks.
Disadvantages
- Complexity: Applying wall texture can be laborious and requires a certain level of expertise.
- Maintenance: Dust and dirt can easily get lodged in the crevices, making cleaning a bit more challenging.
- Limited Resale Appeal: Highly personalised or bold textures might not be everyone’s cup of tea, potentially affecting the resale value of your property.
Step-by-Step Guide to Applying Wall Texture
Preparing the Walls
- Clean: Wipe down walls to remove dust and grease.
- Repair: Fill any holes or cracks and sand smooth.
- Primer: Apply a coat of primer.
Selecting Materials
Choose the appropriate materials based on the type of texture you want. For example, joint compound works well for knockdown and stippling, while special textured paint may be required for techniques like sponging.
Application
- Base Layer: Apply a base coat and allow it to dry.
- Texture Layer: Apply the texture using your chosen method.
- Smoothing: For styles like knockdown, use a trowel to smooth the peaks.
Drying and Painting
Allow the texture to dry thoroughly before applying paint. Depending on the type of texture, you may want to use a roller, brush, or spray gun for painting.
Conclusion
The re-emergence of textured walls speaks to a broader revival of maximalism and individual expression in interior design. While the process might be laborious and entail a learning curve, the rewards are multifaceted: from a unique aesthetic to potential acoustic benefits. As with any trend, the return of textured walls is a testament to the cyclical nature of design, where the old becomes new again, albeit with modern interpretations and technologies.
So, whether you’re planning a major renovation or a minor update, textured walls offer a canvas for creativity and innovation, making them well worth considering in your next interior design project.
How Alan Cox Decorating Can Assist You
If you’re considering embracing the trend of textured walls, or any other painting and decorating tasks, Alan Cox Decorating is your go-to solution. Serving across Leicestershire, Derbyshire, and Nottinghamshire, our experienced team brings a high level of expertise and craftsmanship to each project. We offer a comprehensive range of services, from advising on suitable textures and colour palettes to professionally applying your chosen finish. With a keen eye for detail and a commitment to customer satisfaction, we ensure a seamless process from initial consultation to the final brushstroke. Trust Alan Cox Decorating to transform your home into a space that’s not only aesthetically pleasing but also tailored to your individual taste and lifestyle.


