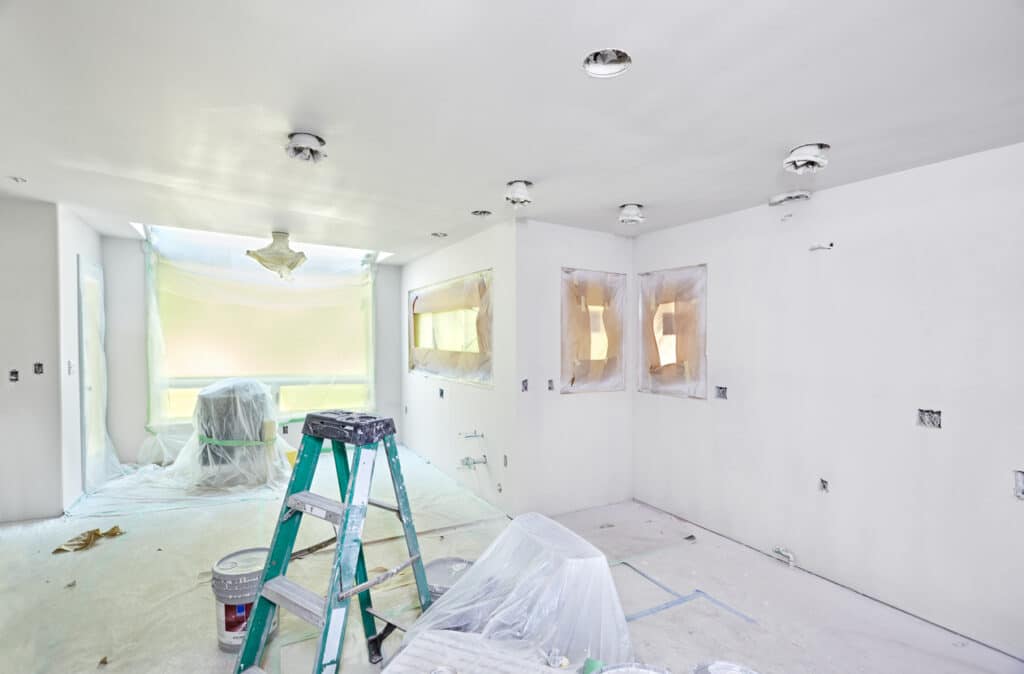
If you’ve decided to refresh the look of your room with a new coat of paint, one thing is clear: preparation is paramount. Without proper prepping, even the most vibrant colours can look dull and patchy. So before you pop open that paint can, follow these five easy steps to ensure the best possible results.

Step 1: Clear the Room
The first step in preparing your room for a new look is to remove as much furniture as possible. Not only does this create a spacious work area, but it also protects your furniture from any accidental paint splatters or drips.
If you can’t remove large pieces of furniture completely, move them to the middle of the room and cover them with a dust sheet. Don’t forget to protect your flooring too. Lay down sheets to keep your floor paint-free.
Step 2: Clean the Walls
Once your room is clear, it’s time to clean the walls. This step might seem unnecessary, especially if your walls don’t look particularly dirty, but it makes a world of difference. Dust, grime, and grease can prevent paint from adhering properly to the wall, resulting in a patchy finish.
Wash your walls with warm, soapy water and a sponge, paying special attention to areas around switches, sockets, and any high-touch spots. Rinse the walls with clean water and leave them to dry completely before proceeding to the next step.
Step 3: Repair Wall Imperfections
Now that your walls are clean, take a close look at them. Do you see any nail holes, cracks, or other imperfections? Now’s the time to fix them. For small holes and cracks, use a filler and a filling knife to even out the surface.
Remember to let the filler dry thoroughly and then lightly sand the area to ensure a smooth finish. If you have larger problem areas or damaged drywall, it may be worth hiring a professional decorator to make sure the repairs are done correctly.
Step 4: Mask Off Areas and Remove Outlet Covers
Before you open your paint tin, there are a few more tasks to undertake. First, you’ll want to remove outlet covers and light switch plates. This might seem like a small detail, but it contributes to a cleaner and more professional-looking paint job.
Next, mask off the areas you don’t want to be painted, such as baseboards, window frames, and door frames. Use painters’ tape for this task, ensuring it is applied evenly and securely, preventing any paint from seeping underneath.
Step 5: Prime the Walls
The final step in preparing your room for painting is applying a primer. This is especially important if you’re drastically changing the colour of your room or if you’re painting over a darker colour. A primer not only provides a good base for your new paint but also helps to hide any imperfections and prevents the old colour from showing through.
Using a roller, apply the primer in a ‘W’ pattern for even coverage, then allow it to dry completely before you start painting.
Conclusion
In conclusion, painting a room involves much more than just applying a new colour to the walls. Proper preparation is key to achieving a smooth, even finish that you can be proud of. While it might take a bit of extra time and effort, the end result will be worth it.
Alan Cox Decorators can Help!
With over 40 years experience in the painting and decorating business, Alan Cox Decorators take care of your project from start to finish. We ensure surfaces are prepared thoroughly, which contributes to a flawless finish!
If you are based on Leicestershire, Nottinghamshire or Derbyshire, we can help. Give us a call today for a professional job from start to finish.


